
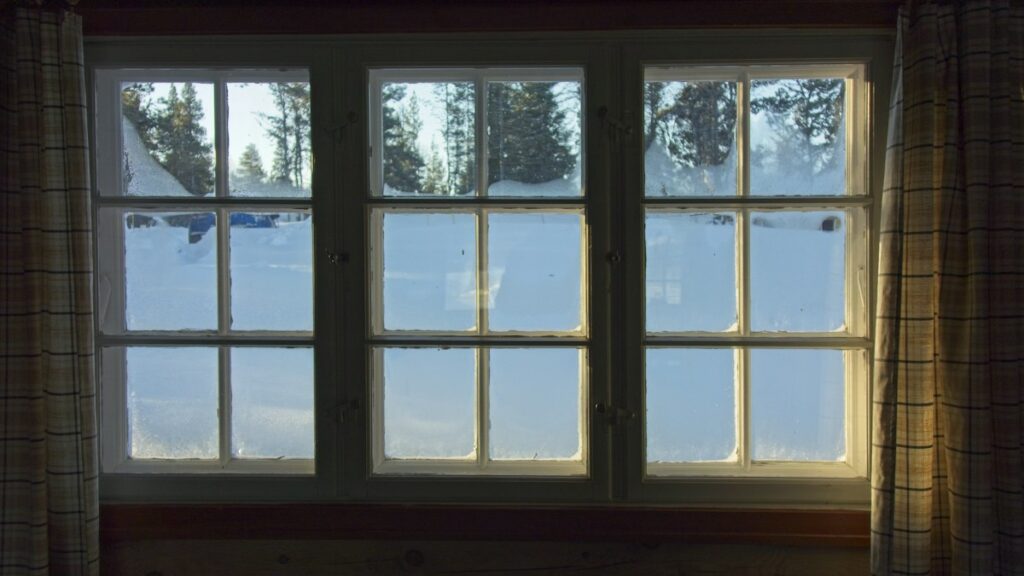
9 Weatherproofing Upgrades to Lower Your Heating Bill This Winter
Heating is typically one of the largest line items in a home’s energy use during colder months, and a surprising amount of that heat can escape through gaps, leaks, and poor insulation you’d never notice just walking through the house. The good news: most weatherproofing fixes are inexpensive, don’t require special skills, and can be done in an afternoon. Here are nine upgrades worth doing before the temperature really drops.
Seal Air Leaks Around Windows and Doors
Air leaks around window and door frames are among the most common sources of heat loss in older homes. On a windy day, hold a lit incense stick or a piece of tissue near frame edges — if it flutters or the smoke wavers, you’ve found a leak. Fill gaps in trim and siding with an exterior-grade caulk, and replace worn or compressed weatherstripping around door frames. This is often the single highest-return weatherproofing project you can do.
Install Door Sweeps
A visible gap under an exterior door lets in a steady stream of cold air. Door sweeps are inexpensive, attach with basic hand tools, and close that gap in minutes. For an even simpler fix, a draft stopper (or rolled towel) at the base of a door works as a temporary measure.
Add Outlet and Switch Plate Gaskets
Electrical outlets and switches on exterior walls are a frequently overlooked source of drafts, since the boxes behind them often aren’t fully sealed to the wall cavity. Foam gasket kits sit behind the cover plate and are simple to install — just turn off the breaker to that circuit before removing any cover plate, and never insert anything into the outlet itself while it’s live.
Check and Top Up Attic Insulation
Heat rises, and an under-insulated attic is one of the biggest culprits behind high heating bills. Look at your existing insulation depth — if you can see the tops of the ceiling joists, you likely need more. Adding insulation is a project many homeowners can do themselves with proper safety gear (gloves, a mask rated for insulation particles, and stepping only on joists, never on drywall), though a professional energy audit can pinpoint exactly where you’re losing the most heat if you want a data-driven approach.
Insulate Exposed Hot Water Pipes
Pipe insulation sleeves are cheap, slip on easily, and reduce heat loss as hot water travels from your water heater to your faucets — meaning your water heater doesn’t have to work as hard to keep water hot. This is a low-effort project with a real payoff, especially for pipes running through unheated basements or crawl spaces.
Install a Programmable or Smart Thermostat
Automatically lowering the temperature while you’re asleep or away, and having it warm back up before you wake or return, reduces the total hours your heating system runs at full demand. Most programmable and smart thermostats are straightforward to install for anyone comfortable with basic wiring, but if your HVAC system uses an unusual wiring configuration or you’re not confident working with the wiring, have an HVAC technician or electrician install it.
Reverse Your Ceiling Fans for Winter
Most ceiling fans have a small switch on the motor housing that reverses the blade direction. Running fans clockwise (at low speed) in winter pulls cool air up and pushes the warm air that naturally collects near the ceiling back down into the room — a small, free adjustment that can make a room feel more evenly heated.
Seal Duct Leaks
Leaky ductwork can send a significant portion of your heated air into attics, crawl spaces, or wall cavities instead of your living space. Accessible duct joints can be sealed with metal-backed foil tape or duct mastic (regular cloth “duct tape” degrades quickly and isn’t a durable fix). Ductwork that’s hard to reach or that you suspect has major leaks is best evaluated by an HVAC professional.
Use Window Insulation Film or Heavy Curtains
For older or single-pane windows, a shrink-fit window insulation kit adds a temporary layer of insulating air space for the cost of a few dollars per window. Heavy, lined curtains — closed at night and opened during the day to let sunlight in — provide a similar benefit and require no installation at all.
Quick Reference Checklist
- Caulk and weatherstrip windows and doors
- Install door sweeps on exterior doors
- Add gaskets behind outlet and switch plates on exterior walls (breaker off first)
- Check attic insulation depth and top up as needed
- Insulate exposed hot water pipes
- Install a programmable or smart thermostat
- Reverse ceiling fans to run clockwise in winter
- Seal accessible duct joints with foil tape or mastic
- Add window insulation film or hang heavier curtains
You don’t need to tackle all nine at once. Start with the leaks you can feel — windows, doors, and outlets — since those tend to offer the fastest, most noticeable improvement, then work through the rest over the following weeks. Combined, these small upgrades add up to a home that holds heat better and a furnace that doesn’t have to work as hard to keep it comfortable.
For complex structural, electrical, gas, and other safety-critical work, consult a qualified professional and check local requirements.
Read Next
All articles →
9 Simple Ways to Weatherproof Your Home Before Winter Hits
9 Simple Ways to Weatherproof Your Home Before Winter Hits
Read the guide →
The Essential Fall Home Maintenance Checklist: 12 Tasks to Complete Before the Weather Turns
The Essential Fall Home Maintenance Checklist: 12 Tasks to Complete Before the Weather Turns
Read the guide →
9 Smart Ways to Lower Your Winter Heating Bill Before the Cold Arrives
9 Smart Ways to Lower Your Winter Heating Bill Before the Cold Arrives
Read the guide →