
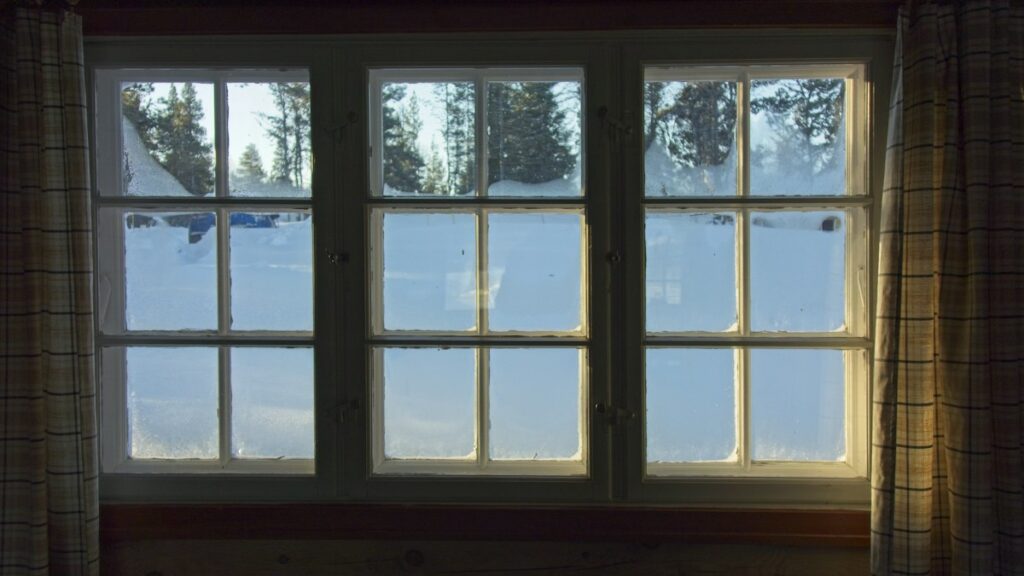
9 Simple Ways to Weatherproof Your Home Before Winter Hits
Every home loses conditioned air through small gaps and inefficiencies you’d never notice in the warmer months — until the first cold snap sends your heating bill climbing. The good news is that most weatherproofing fixes are inexpensive, don’t require special tools, and can be done in a single afternoon. Here are nine practical upgrades that make a real difference before winter sets in.
Seal Air Leaks With Caulk and Weatherstripping
Start with a simple test: on a breezy day, hold a lit incense stick or a piece of tissue near window frames, door edges, electrical outlets, and where pipes or cables enter the house. If it flutters or the smoke wavers, you’ve found a leak. Fill gaps around window and door frames with exterior-grade caulk, and replace worn weatherstripping around doors. These two fixes alone often account for a noticeable chunk of a home’s total air leakage.
Add or Top Off Attic Insulation
Heat rises, and an under-insulated attic is one of the biggest sources of winter heat loss. Take a look at your attic floor: if you can see the tops of the joists poking through the insulation, you likely need more. Adding insulation is a project many homeowners can do themselves with rolled batts or blown-in loose fill, though if your attic has knob-and-tube wiring or you’re unsure how to work around recessed lighting safely, it’s worth bringing in an insulation contractor.
Install a Programmable or Smart Thermostat
A programmable thermostat lets you automatically lower the temperature while you’re asleep or away and bring it back up before you need it, which can meaningfully cut heating costs over a season without any sacrifice in comfort. If you’re installing a smart thermostat yourself, always turn off power to the HVAC system at the breaker first, and if your system’s wiring doesn’t match the thermostat’s instructions or you’re not comfortable working with low-voltage wiring, call an electrician or HVAC technician rather than guessing.
Use Weatherproofing Film on Older Windows
If you have single-pane or older double-pane windows that let in noticeable drafts, a shrink-fit plastic window film kit is a low-cost, temporary fix. Applied with double-sided tape and shrunk tight with a hair dryer, it adds an extra insulating air layer over the glass for the season. It’s not a permanent solution, but it’s an easy way to cut drafts until you can budget for window replacement or storm windows.
Add Door Sweeps and Draft Stoppers
Gaps under exterior doors let cold air pour in at floor level. A door sweep — a strip of rubber or brush material attached to the bottom of the door — closes that gap in minutes with basic tools. Draft stoppers (or even a rolled towel) placed at the base of doors that don’t get a permanent sweep, like an interior door to an unheated garage, add another layer of protection.
Insulate Exposed Pipes
Pipes running through unheated crawl spaces, garages, or exterior walls are vulnerable to freezing, which can lead to costly bursts. Foam pipe insulation sleeves slide on easily and are inexpensive per linear foot. Pay special attention to any pipe on an exterior wall or in an unconditioned space — those are the ones most likely to freeze during a cold snap.
Reverse Your Ceiling Fans
Most ceiling fans have a small switch on the motor housing that reverses the blade direction. In winter, running fans clockwise at a low speed pulls cool air up and pushes the warm air that naturally collects near the ceiling back down into the room, helping the space feel warmer without turning up the thermostat.
Close the Damper on Unused Fireplaces
An open flue is essentially a hole in your roof letting heated air escape straight outside. If you have a wood-burning fireplace you’re not using regularly, make sure the damper is fully closed when there’s no fire burning — but always confirm it’s open again before you light one, since a closed damper with an active fire can fill the room with smoke and carbon monoxide.
Wrap Your Water Heater and Check Insulation Levels
An insulating jacket or blanket for your water heater reduces standby heat loss, especially if the unit sits in an unheated basement or garage. Check the manufacturer’s guidance first, since some newer, well-insulated tanks don’t need or recommend an added wrap, and never cover the top of a gas water heater, its thermostat, or its burner access panel, since that can create a safety hazard.
Putting It All Together
- Seal air leaks around windows, doors, and penetrations
- Top off attic insulation
- Install a programmable or smart thermostat
- Apply window insulation film where needed
- Add door sweeps and draft stoppers
- Insulate exposed pipes in unheated areas
- Reverse ceiling fans to clockwise, low speed
- Close dampers on unused fireplaces
- Insulate the water heater if appropriate for your unit
You don’t need to do all nine in one weekend. Even tackling two or three of these — starting with air sealing and pipe insulation, since they carry the biggest risk-to-reward ratio — will noticeably improve comfort and lower your heating costs this winter. And as you seal your home tighter, it’s worth double-checking that your carbon monoxide detectors are working and properly placed, since a well-sealed home makes proper ventilation for fuel-burning appliances even more important.
For complex structural, electrical, gas, and other safety-critical work, consult a qualified professional and check local requirements.
Read Next
All articles →
9 Weatherproofing Upgrades to Lower Your Heating Bill This Winter
9 Weatherproofing Upgrades to Lower Your Heating Bill This Winter
Read the guide →
The Essential Fall Home Maintenance Checklist: 12 Tasks to Complete Before the Weather Turns
The Essential Fall Home Maintenance Checklist: 12 Tasks to Complete Before the Weather Turns
Read the guide →
9 Smart Ways to Lower Your Winter Heating Bill Before the Cold Arrives
9 Smart Ways to Lower Your Winter Heating Bill Before the Cold Arrives
Read the guide →