
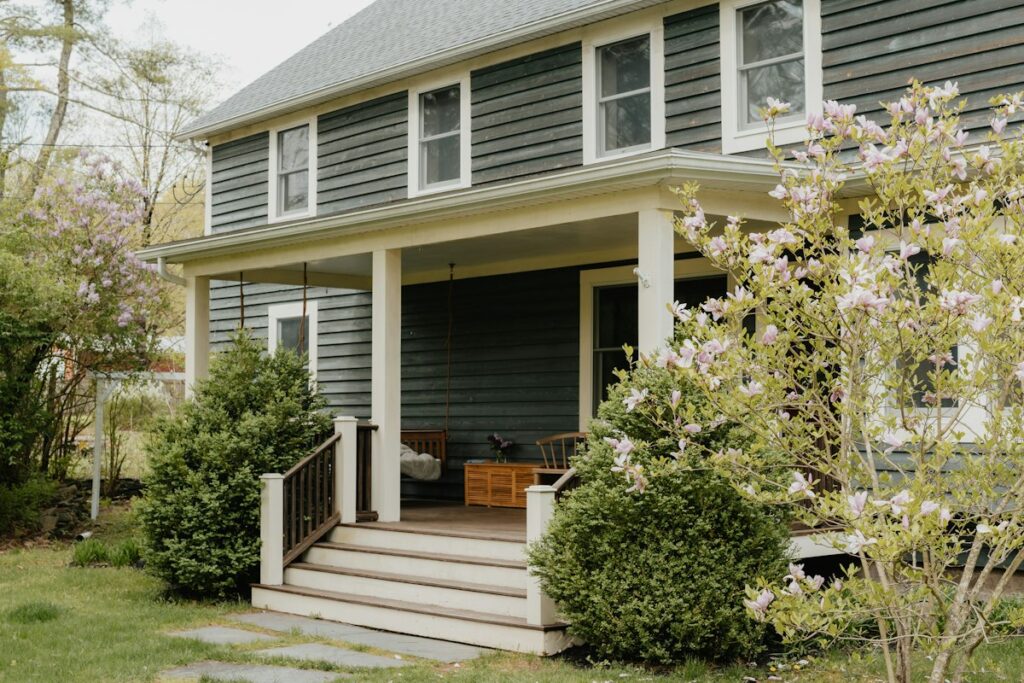
If exterior painting has been on your to-do list all summer, don’t let it slip into next year. Early fall — think early-to-mid September in most of the country — is actually one of the best times to paint the outside of your house, and the window for doing it right closes faster than most homeowners realize. Here’s why the next few weeks matter, and how to make the most of them.
Why Temperature and Timing Matter So Much
Exterior paint isn’t like a coat of primer you can slap on any time of year. Most latex (water-based) exterior paints need the air temperature to stay within a specific range — typically above 50°F and below roughly 85–90°F — for several hours during application and while the paint cures. Paint applied when it’s too cold won’t form a proper film, leading to poor adhesion, cracking, and premature peeling. Paint applied in very hot, direct sun can dry too fast on the surface before it bonds properly underneath, causing lap marks and reduced durability.
Early fall tends to offer the sweet spot: daytime temperatures are usually still warm enough for proper curing, while the punishing heat and direct sun of midsummer have eased off. Humidity is often lower too, which helps paint dry evenly. Once you get further into fall, overnight temperatures start dropping toward or below that 50°F threshold, and the amount of daylight and safe painting hours each day starts shrinking fast — which is why waiting even a few more weeks can push a project from “easy weekend job” to “rushed against the weather.”
Check the Manufacturer’s Label
Every paint brand and product line has its own recommended temperature range, and it’s printed right on the can. Some newer formulations are designed to be applied in cooler conditions than traditional latex paint, so it’s worth checking before you assume a project isn’t possible. Whatever the label says, plan to paint during a stretch of days where both daytime and overnight lows stay within range — many paint failures trace back to nighttime temperatures dropping too low while the paint is still curing, even if the daytime application temperature was fine.
Watch the Weather, Not Just the Calendar
Beyond temperature, exterior paint needs dry conditions to cure properly. Avoid painting if rain is forecast within 24 hours of application, and skip days with heavy dew or high humidity, since surface moisture can trap under the new coat and cause bubbling or poor adhesion. Early morning is often the best time to start in fall, once overnight dew has evaporated but before the sun is at its harshest — aim to have your topcoat applied with enough daylight left for it to dry before evening moisture returns.
Prep Work Still Comes First
Rushing to paint before prep is complete is one of the most common — and costly — mistakes homeowners make. A rushed prep job means the paint may look fine for a season or two before it starts failing. Before any paint goes on:
- Wash the siding to remove dirt, pollen, and mildew — a garden hose and a scrub brush work for most homes, though a pressure washer on a low setting can speed things up if used carefully and kept several feet from the surface
- Scrape and sand any loose, peeling, or flaking paint down to a sound edge
- Repair caulk gaps around trim, windows, and doors, and let new caulk cure per the label before painting over it
- Spot-prime any bare wood, rust spots, or repaired areas so the topcoat adheres evenly
- Let the surface fully dry — ideally 24 to 48 hours after washing — before applying primer or paint
A Note on Older Homes and Lead Paint
If your home was built before 1978, there’s a real possibility that older paint layers underneath contain lead, even if it’s been painted over many times since. Scraping, sanding, or pressure washing lead-based paint can release hazardous dust and chips. If you suspect lead paint, consider having it tested, and if it’s present, either hire a contractor certified in lead-safe work practices or follow EPA lead-safe renovation guidelines carefully — including containment, wet scraping methods, and proper cleanup — rather than dry-sanding or power-washing it yourself.
Ladder and Height Safety
Exterior painting almost always means working at height, and ladder falls are one of the most common home-improvement injuries. A few reminders worth taking seriously: set the ladder on firm, level ground with a proper 4:1 angle, extend it at least three feet above the roofline or landing point if you’ll be stepping off it, never stand on the top rung or the paint shelf, and keep three points of contact whenever possible. Move the ladder rather than overreaching to the side. For second-story work or steep, hard-to-access areas, hiring a professional painter with proper scaffolding or lift equipment is often worth the cost in reduced risk alone.
Getting the Most Out of the Season
If you’re working with a limited window before the weather turns, prioritize. Start with the sides of the house that get the most weather exposure — typically south- and west-facing walls — along with any areas where paint is actively peeling or bare wood is exposed, since those spots are most vulnerable to moisture damage over winter. Trim, doors, and shutters can sometimes wait until spring if you run out of good painting days, but exposed siding shouldn’t.
Quick Fall Exterior Painting Checklist
- Confirm daytime and overnight temperatures fit your paint’s label range
- Check the forecast for at least 24 dry hours after your painting day
- Wash, scrape, sand, and caulk before any paint goes on
- Test for lead paint on pre-1978 homes before scraping or sanding
- Prioritize weather-exposed and peeling areas if time is limited
- Follow ladder safety basics or hire a pro for second-story work
Don’t Let the Window Close
Exterior paint isn’t just about curb appeal — it’s a protective barrier against moisture, UV damage, and wood rot. Every season you put it off, exposed or peeling areas get a little worse, and repairs get a little more expensive. If your house needs a fresh coat, treat early September as a deadline, not a suggestion. Get the prep done now, watch the forecast, and you can have a freshly painted, weather-ready home before the temperatures turn.
For complex structural, electrical, gas, and other safety-critical work, consult a qualified professional and check local requirements.
Read Next
All articles →
Fall Lawn Care 101: 5 Tasks That Set You Up for a Healthier Yard Next Spring
Fall Lawn Care 101: 5 Tasks That Set You Up for a Healthier Yard Next Spring
Read the guide →
Fall Curb Appeal Refresh: 8 Budget-Friendly Yard Upgrades to Try This September
Fall Curb Appeal Refresh: 8 Budget-Friendly Yard Upgrades to Try This September
Read the guide →
7 Fall Lawn Care Tasks That Set Up a Healthier Yard Next Spring
It's tempting to think of lawn care as a spring and summer job, but the work you do on your yard…
Read the guide →