

For most DIY repipe projects, PEX-B is the better choice because its fittings (crimp or clamp) use cheaper, simpler tools than the expansion tool PEX-A requires, even though PEX-A offers more flexibility and a cold-expansion fitting method many plumbers consider more reliable long-term. The short version: PEX-A bends easier and its expansion fittings have no inner diameter restriction, but PEX-B costs less overall once you factor in tooling, and its fittings are more forgiving for a first-time installer.
What Actually Differs Between PEX-A and PEX-B
Both are cross-linked polyethylene pipe approved under the same plumbing codes in most jurisdictions, and both come in the same common sizes (3/8, 1/2, 3/4, and 1 inch). The difference is in the manufacturing process and, as a result, the physical properties and fitting systems each one supports.
PEX-A: Peroxide Method
PEX-A is manufactured using the Engel method, which cross-links the polyethylene before extrusion. This gives it the most flexibility of the three PEX types, the best kink resistance (and the ability to “heal” small kinks with a heat gun), and compatibility with expansion fittings, where the pipe end is expanded with a special tool and a brass or poly-alloy fitting is inserted, then allowed to shrink back down and grip it. Expansion fittings have no reduction in inner pipe diameter, which some plumbers prefer for water flow. The tradeoff is cost: both the pipe itself and the expansion tool (often $150 to $400 for a manual version) cost more than PEX-B equivalents.
PEX-B: Silane Method
PEX-B is cross-linked after extrusion using a moisture-cure silane process. It’s slightly stiffer and more prone to kinking than PEX-A, but it’s less expensive and pairs with two fitting systems that are cheaper and easier to learn: crimp fittings, which use a copper ring and a crimping tool, and cinch (clamp) fittings, which use a stainless steel clamp tightened with a specialized but inexpensive tool. Crimp and cinch tools typically run $50 to $150, well under the cost of an expansion tool.
Cost Comparison for a Typical Repipe
For a 2,000-square-foot home repipe, expect to pay roughly 10 to 15 percent more for PEX-A pipe compared to PEX-B of the same size, and roughly double for the tooling if you’re buying a manual expansion tool versus a basic crimp tool. On a whole-house DIY repipe, that tooling difference alone can represent $150 to $300 in savings by choosing PEX-B, which matters more to a one-time DIY project than to a contractor who amortizes tool cost across dozens of jobs.
Which Fitting System Is More Forgiving for Beginners
Crimp fittings (PEX-B) have the lowest learning curve: slide the fitting and ring on, crimp with the tool, then check the connection with a go/no-go gauge that comes with most crimp tool kits — a simple pass/fail check that tells you immediately whether the crimp is good. Cinch fittings are nearly as simple and use a visual indicator on the clamp itself. Expansion fittings (PEX-A) require more technique: the pipe has to be expanded fully, the fitting inserted within a specific working-time window before the pipe starts shrinking back, and depth-marked to confirm full insertion. It’s not difficult once you’ve done a few, but the first-time error rate is higher than with crimp.
Local Code and Water Quality Considerations
Check your local plumbing code before buying pipe — a few jurisdictions restrict or require specific PEX types or fitting systems, and some municipal water utilities have reported higher instances of chlorine-related degradation with certain PEX-B formulations in high-chlorine water systems, though manufacturer-specific chlorine resistance ratings vary enough that this shouldn’t be treated as a blanket rule. If your water utility uses unusually high chlorine levels, ask your pipe supplier for the specific chlorine resistance rating of the product you’re buying, regardless of which PEX type you choose.
What to Buy for a First DIY Repipe
If this is your first repipe and you want the simplest possible learning curve, buy PEX-B pipe with crimp fittings and a basic crimp tool with an integrated go/no-go gauge. If you’re repiping a home with tight framing cavities and lots of sharp turns, the extra flexibility of PEX-A may save you fittings and labor even at the higher material cost — fewer elbow fittings means fewer potential leak points.
Frequently Asked Questions
Q: Can I mix PEX-A and PEX-B in the same repipe?
A: Yes, the pipe materials are compatible as long as you use the correct fitting system for each pipe segment — just don’t try to use expansion fittings on PEX-B pipe or crimp fittings rated only for PEX-A.
Q: Is PEX-A actually stronger than PEX-B?
A: Not in burst strength, which is similar across both types at the same size and pressure rating. PEX-A’s main physical advantage is flexibility and kink resistance, not raw strength.
Q: Do I need a special tool for every fitting type?
A: Yes — crimp, cinch, and expansion fittings each require their own dedicated tool, and they are not interchangeable, so decide on one fitting system before buying tools.
Q: Will my home inspector accept either PEX type?
A: Both are accepted under most major plumbing codes (check your local code), but inspectors will look for proper fitting installation and support spacing regardless of which type you use.
Q: How much PEX pipe do I need for an average bathroom?
A: Plan on roughly 40 to 60 linear feet for a single full bathroom, including supply runs to the toilet, sink, and shower or tub, though exact footage depends on your specific layout and wall cavity routing.
For complex structural, electrical, gas, and other safety-critical work, consult a qualified professional and check local requirements.
Read Next
All articles →
Cordless vs. Corded Impact Drivers: Which One Actually Belongs in Your Toolbox
For the vast majority of homeowners, a cordless impact driver is the better choice over a corded one, because modern brushless…
Read the guide →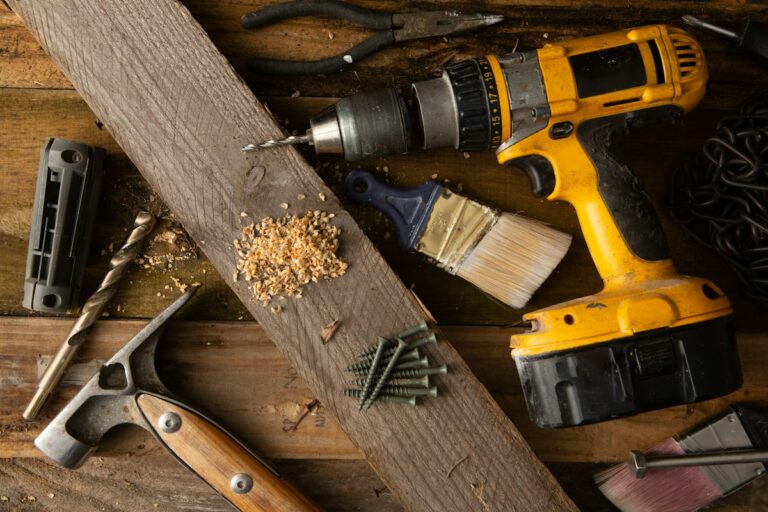
The 12 Essential Tools Every New Homeowner Should Own Before Tackling Fall Projects
The 12 Essential Tools Every New Homeowner Should Own Before Tackling Fall Projects
Read the guide →
Oscillating Multi-Tool vs. Jigsaw: Which One Actually Earns Space in a DIYer’s Garage
Oscillating multi-tool vs. jigsaw compared on real jobs — flush cuts, curves, plunge cuts, and price — to help you pick…
Read the guide →