

Vinyl plank flooring has become one of the most popular DIY flooring options for a good reason: it’s water-resistant, durable, comfortable underfoot, and — unlike hardwood or tile — genuinely installable by a first-timer with basic tools and a weekend of patience. Most modern luxury vinyl plank (LVP) uses a click-lock floating floor system, meaning the planks snap together and “float” over the subfloor without nails, screws, or much adhesive. Here’s how to do it right from start to finish.
What You’ll Need
– Click-lock vinyl plank flooring (buy 5–10% extra to account for cuts and waste)
– Underlayment, if not already attached to your plank product
– Utility knife or a vinyl plank cutter
– Tapping block and pull bar
– Rubber mallet
– Spacers (1/4-inch, for expansion gaps)
– Tape measure, pencil, and a straightedge or carpenter’s square
– Knee pads (your knees will thank you)
Step 1: Prep the Subfloor
Vinyl plank is forgiving, but it isn’t magic — any bump, dip, or debris on the subfloor will show through or create a hollow spot underfoot. Remove the old flooring and baseboards (baseboards can usually be pried off carefully and reinstalled later, or replaced with new quarter-round after the floor goes in). Sweep and vacuum thoroughly, then check the subfloor with a level or a long straightedge. Fill small dips with a floor-leveling compound and sand down any high spots or protruding nail heads. The subfloor should also be completely dry — moisture trapped under vinyl plank can lead to problems down the road, so if you’re working over concrete, especially in a basement, check the manufacturer’s guidance on vapor barriers.
Step 2: Let the Planks Acclimate
Bring the unopened boxes into the room where they’ll be installed and let them sit for at least 48 hours (check your product’s instructions, since times vary). This lets the planks adjust to the room’s temperature and humidity, which reduces the chance of gaps or buckling after installation.
Step 3: Plan Your Layout
Measure the room and decide which direction you want the planks to run — typically parallel to the longest wall or in the direction of the main light source. Snap a chalk line or measure out your first row so it’s straight, since every following row depends on that first one being accurate. Stagger the end joints between rows by at least 6 inches so the seams don’t line up in a repeating pattern, which looks unnatural and can be a weaker joint.
Step 4: Lay the First Row
Place 1/4-inch spacers along the starting wall to maintain the expansion gap vinyl flooring needs (it will be hidden later by baseboard or quarter-round). Lay your first plank with the groove side toward the wall, then click the next plank into the short end. Continue down the row, using a utility knife or vinyl cutter to trim the last plank to fit, remembering to leave the expansion gap on that end too.
Step 5: Continue Row by Row
For each new row, angle the long edge of the plank into the groove of the previous row and lower it down, or follow your specific product’s click method (some click down, others angle in — check the instructions, since methods vary by brand). Use the tapping block and rubber mallet to gently snug end joints together without damaging the plank’s locking edge. Use the pull bar near walls where a mallet can’t reach directly.
Step 6: Cut Around Obstacles
Doorways, closet openings, and HVAC vents require careful measuring and cutting. Make a cardboard template for irregular shapes (like a vent cover or a curved transition) before cutting the actual plank — it’s much cheaper to mess up cardboard than a $4 plank. A jigsaw works well for notches and curves; a straight utility knife score-and-snap technique works for most straight cuts on thinner LVP.
Step 7: Finish the Edges
Once the floor is fully installed, remove your spacers and install new baseboards or quarter-round trim to cover the expansion gap. Install transition strips at doorways between rooms with different flooring, which also protects the exposed edge of the vinyl plank.
Common Mistakes to Avoid
– Skipping the expansion gap: Vinyl plank expands and contracts with temperature changes; without a gap, floors can buckle.
– Not staggering seams enough: Short, repeating patterns look unprofessional and create weaker joints.
– Installing over an uneven or dirty subfloor: This is the single biggest cause of squeaks, gaps, and visible imperfections later.
– Forcing a crooked first row: Every mistake in row one multiplies across the whole room.
Caring for Your New Floor
Once installed, vinyl plank is low-maintenance but not maintenance-free. Sweep or vacuum regularly to keep grit from scratching the wear layer, and use furniture pads under table and chair legs rather than letting them sit directly on the vinyl. Clean with a damp mop and a cleaner made for vinyl or LVP flooring — avoid steam mops, which can force moisture into the seams and damage the planks over time, and skip oil-based or wax-based cleaners, which can leave a dull, slippery film. Wipe up spills promptly, and place walk-off mats at exterior entrances to cut down on grit and moisture being tracked across the floor.
A Few Safety Reminders
Wear safety glasses when cutting plank with a jigsaw or power tool, and use knee pads or a cushioned mat, since you’ll spend hours low to the ground. If you’re removing old flooring first, be cautious with flooring installed before the early 1980s — some old vinyl tile, sheet flooring, or the adhesive beneath it can contain asbestos, which is dangerous to cut, sand, or pry up without proper precautions. If you’re unsure about the age or composition of flooring you’re removing, consider having a sample tested before demolition rather than guessing.
Vinyl plank is one of the most forgiving flooring materials for a first-time DIYer, but the quality of your prep work — a flat, clean, dry subfloor and a straight first row — will matter more to the finished result than almost anything else on this list. Slow down on those two steps and the rest of the job goes quickly.
For complex structural, electrical, gas, and other safety-critical work, consult a qualified professional and check local requirements.
Read Next
All articles →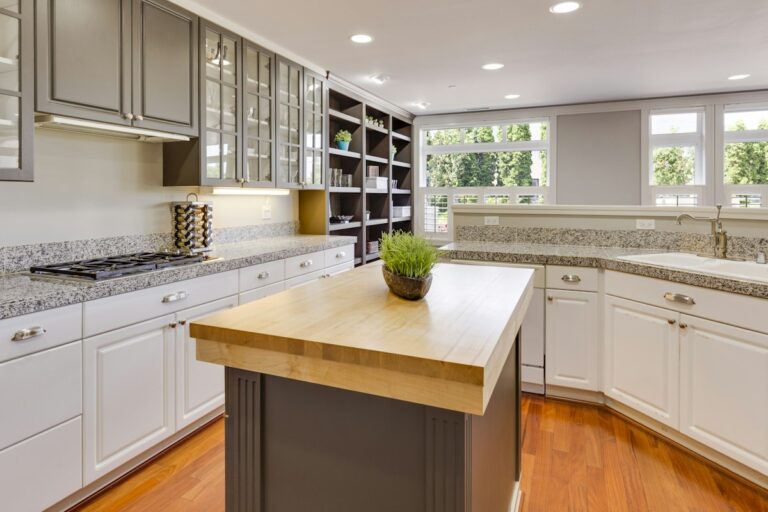
5 Smart Ways to Upgrade Your Kitchen Countertops Without a Full Remodel
A full kitchen remodel can easily run into the tens of thousands of dollars, and countertops alone — especially natural stone…
Read the guide →
How to Choose the Right Flooring for Every Room in Your Home: A Practical Buyer’s Guide
Gmail article imported for editorial review; facts and product claims pending verification.
Read the guide →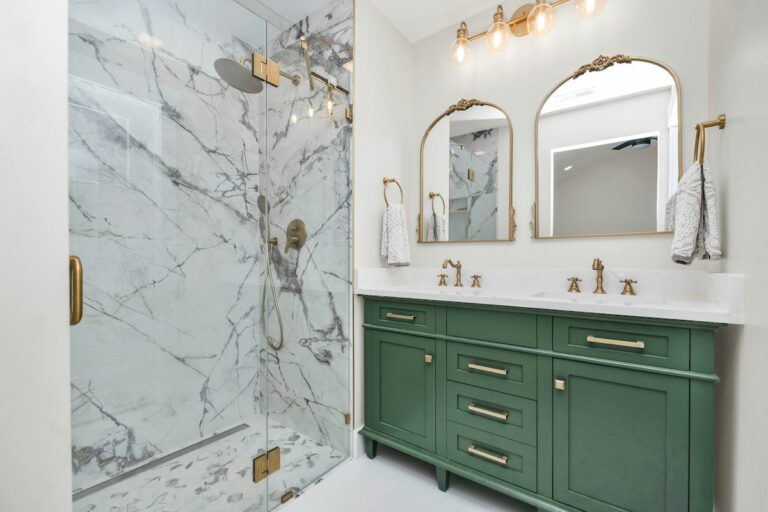
Weekend Bathroom Refresh: How to Update Grout, Caulk, and Hardware Without a Full Remodel
Imported from Gmail for editorial verification. Not yet approved for publication.
Read the guide →