
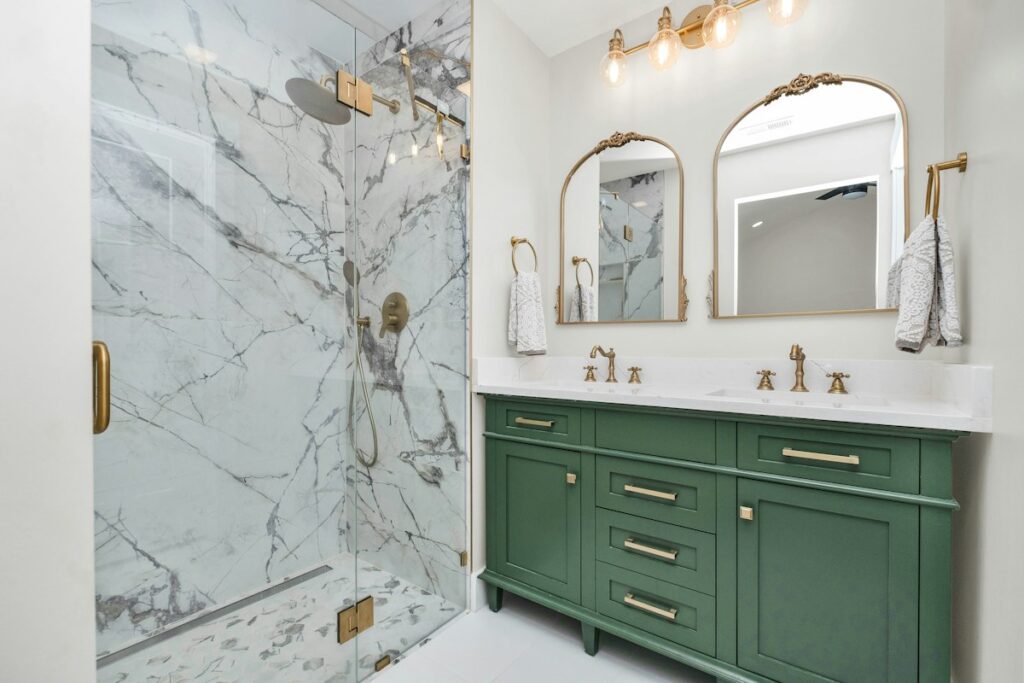
A full bathroom remodel can take weeks and cost tens of thousands of dollars — but most of what makes a bathroom feel dated or neglected isn’t the layout or the fixtures themselves, it’s tired grout, peeling caulk, and worn-out hardware. Addressing just those three things, plus a coat of the right paint, can make a bathroom look dramatically fresher in a single weekend for a fraction of the cost of a renovation. Here’s how to do it.
What You’ll Need
Gather these before you start so you’re not making mid-project hardware store runs: a utility knife or caulk-removal tool, rubbing alcohol or a dedicated caulk/adhesive remover, painter’s tape, 100% silicone caulk (for wet areas like tubs and showers) or a sanded/unsanded grout as appropriate, a grout float or old toothbrush, a caulk smoothing tool or a gloved finger, a dust mask and safety glasses if you’ll be removing old grout, a screwdriver set, replacement hardware, moisture-resistant bathroom paint, and a good exhaust fan or an open window for ventilation.
Step 1: Deep Clean and Assess the Tile
Start with a thorough cleaning of all tiled surfaces using a tile-safe cleaner to cut through soap scum and mineral buildup — this alone often improves the look more than people expect. Once it’s clean and dry, take an honest look at the grout lines. Light discoloration can often be fixed with a grout cleaner or a grout refresh/paint product applied over existing grout. Grout that’s cracked, crumbling, or missing in spots needs to be removed and replaced rather than just refreshed.
Step 2: Remove and Replace Damaged Grout (If Needed)
If you’re regrouting, use a grout saw or an oscillating tool with a grout removal blade to carefully scrape out the old, damaged grout between tiles, being careful not to chip the tile edges. Wear a dust mask and eye protection, since this creates fine dust. Vacuum out the joints, then mix and apply new grout with a float, holding it at roughly a 45-degree angle to pack the joints fully. Wipe excess grout off the tile face with a damp sponge before it fully cures, and let it cure according to the product’s instructions, typically 24 to 72 hours, before exposing it to water.
Step 3: Remove Old Caulk Around the Tub and Sink
Old, discolored, or peeling caulk around a tub, shower pan, or sink is one of the fastest things to make a bathroom look neglected — and one of the easiest to fix. Slice along both edges of the old caulk bead with a utility knife, then peel and scrape it away. A caulk-softening solution can help if it’s stubborn. Clean the area thoroughly with rubbing alcohol and let it dry completely; caulk won’t adhere well to a damp or soapy surface.
Step 4: Apply a Clean New Caulk Line
For a crisp, professional-looking bead, run painter’s tape along both sides of the joint, leaving just the gap exposed. Cut the caulk tube tip at a shallow angle, apply steady, even pressure along the joint, then smooth the bead with a caulk tool or a gloved finger before the surface skins over. Pull the tape away immediately while the caulk is still wet, then let it cure fully — usually 24 hours — before using the tub or shower. Use 100% silicone caulk rated for wet areas, not a general-purpose acrylic caulk, since silicone handles the repeated moisture exposure far better. Keep the bathroom ventilated while the caulk cures.
Step 5: Swap Out Dated Hardware
Towel bars, toilet paper holders, cabinet knobs and pulls, and faucet handles are usually held on with a screw or two and take only minutes to replace — and new hardware in a cohesive finish (matte black, brushed nickel, polished chrome) instantly modernizes the room. If you’re also replacing a light fixture or exhaust fan, turn off the power at the breaker first, and confirm the circuit is actually off with a non-contact voltage tester before touching any wiring. If you’re not fully comfortable working with electrical connections, this is a reasonable job to hand off to a licensed electrician rather than guess.
Step 6: Reframe or Replace the Mirror
A plain builder-grade mirror can get a quick upgrade with a peel-and-stick frame kit designed to adhere directly to the existing mirror edge, or you can swap it entirely for a framed mirror in a style that matches your new hardware finish.
Step 7: Add a Coat of the Right Paint
Bathrooms need paint formulated to resist moisture and mildew. Make sure surfaces are clean and dry, use a bathroom-rated paint (many brands offer a specific “bath and kitchen” line), and run the exhaust fan during and well after painting to help it cure properly in a humid environment.
Step 8: Finish with Small Organization Upgrades
A few inexpensive additions — a shower caddy, floating shelf, or an over-the-toilet storage unit — can make the space feel more finished and functional without any construction.
A Realistic Weekend Timeline
– Friday evening: Deep clean, remove old caulk, and let surfaces dry overnight.
– Saturday: Regrout if needed (allowing cure time), apply new caulk, and swap hardware.
– Sunday: Paint, hang the mirror or frame kit, and add final organizational touches.
None of these steps require construction experience, just patience with the dry and cure times between stages. Done well, this kind of refresh can make a bathroom look and feel genuinely new — and it’s one of the best returns on a single weekend of work you’ll find anywhere in the house.
For complex structural, electrical, gas, and other safety-critical work, consult a qualified professional and check local requirements.
Read Next
All articles →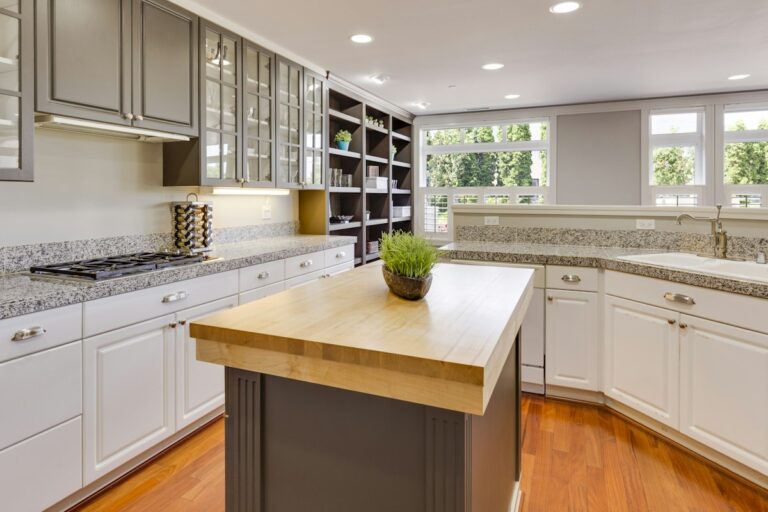
5 Smart Ways to Upgrade Your Kitchen Countertops Without a Full Remodel
A full kitchen remodel can easily run into the tens of thousands of dollars, and countertops alone — especially natural stone…
Read the guide →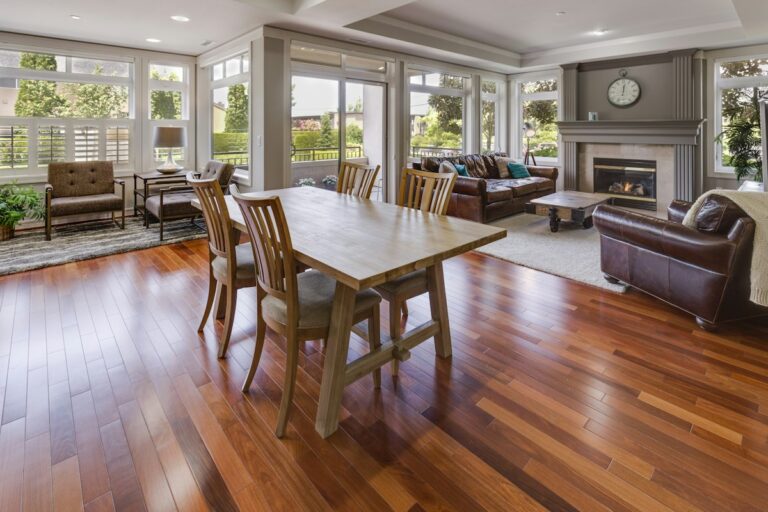
How to Choose the Right Flooring for Every Room in Your Home: A Practical Buyer’s Guide
Gmail article imported for editorial review; facts and product claims pending verification.
Read the guide →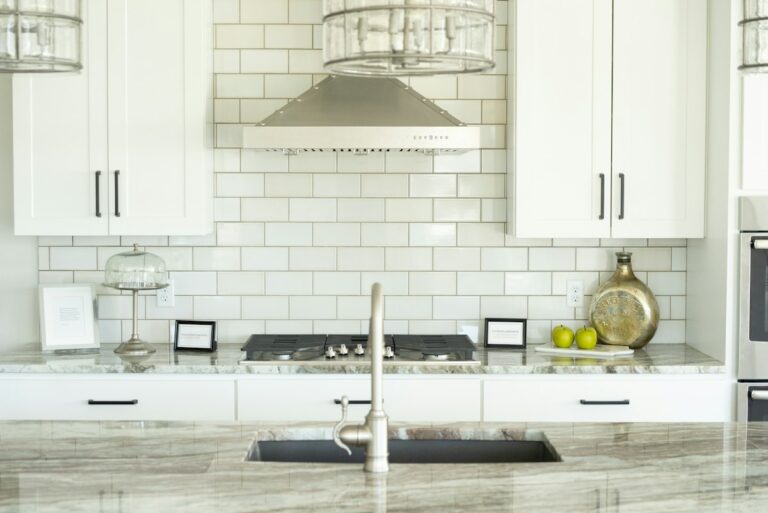
How to Install a Peel-and-Stick Backsplash Over Existing Tile
Learn how to install a peel-and-stick backsplash directly over existing tile, including surface prep, cutting around outlets, and sealing edges.
Read the guide →