
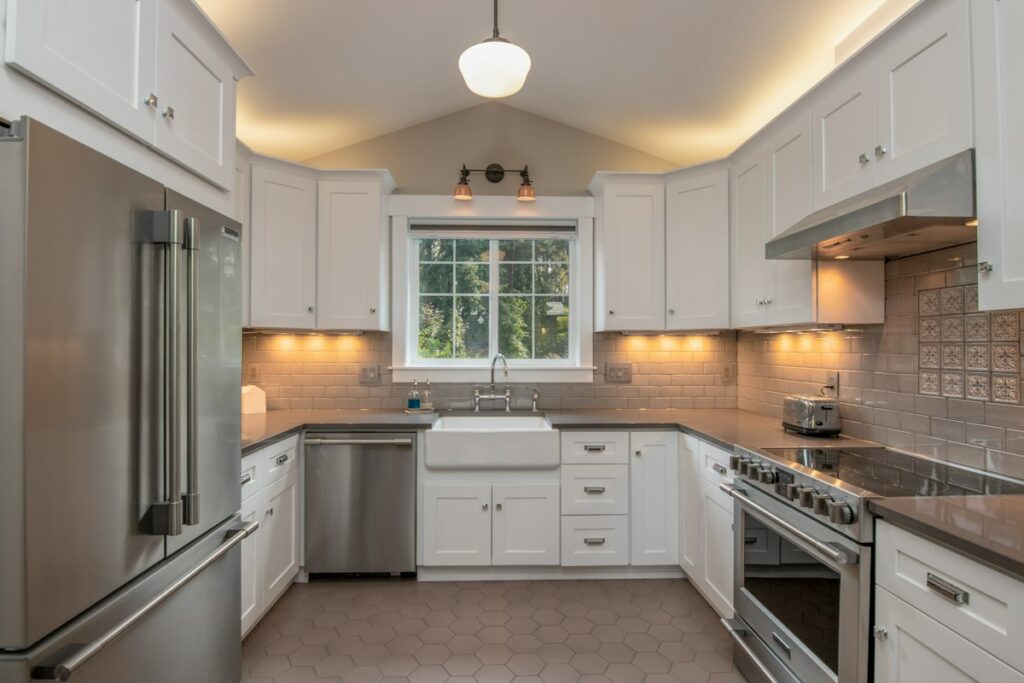
A full kitchen remodel can easily run tens of thousands of dollars, but tired-looking cabinets are often the single biggest factor dragging a kitchen’s whole look down — and they’re also one of the most fixable. Before you start pricing out new cabinetry, consider whether a refresh, rather than a full replacement, could get you most of the way to the kitchen you want for a fraction of the cost. Here are nine approaches, roughly ordered from smallest investment to biggest, that can make cabinets look custom without a full teardown.
1. Deep Clean and Condition First
Before you judge your cabinets too harshly, give them an honest cleaning. Years of cooking grease and grime dull wood finishes and make paint look tired. Wipe down doors and hardware with a mixture of warm water and a mild degreasing dish soap, or a dedicated wood cabinet cleaner for finished wood. You may be surprised how much brighter cabinets look once the buildup is gone — and a clean surface is essential prep for any of the projects below.
2. Swap the Hardware
New knobs and pulls are one of the highest-impact, lowest-effort upgrades available. Dated brass or plastic hardware instantly reads as older, while updated matte black, brushed nickel, or unlacquered brass hardware can modernize a whole kitchen in an afternoon. Measure your existing hole spacing (the distance between screw holes on pulls) before shopping, since matching that spacing means you won’t need to drill new holes or patch old ones.
3. Paint the Cabinets Yourself
A professional-looking paint job is achievable as a DIY project if you’re patient with the prep work, which matters more than the paint itself.
– Remove doors, drawer fronts, and hardware, and label everything so it goes back in the right place.
– Clean thoroughly, then lightly sand all surfaces to help the primer adhere — you’re de-glossing, not stripping the finish.
– Apply a bonding primer designed for cabinetry, especially over existing stain, laminate, or previously painted surfaces.
– Use a cabinet-grade enamel paint (many are self-leveling for a smoother finish) and apply thin coats with a quality synthetic brush or a foam roller, sanding lightly between coats.
– Work in a well-ventilated space, and if you’re painting materials that might contain lead-based paint (common in homes built before 1978), avoid sanding or scraping without following EPA lead-safe practices.
4. Refinish or Restain Wood Cabinets
If your cabinet boxes and doors are solid wood in good structural shape but the finish looks dated or worn, stripping and restaining can bring out the wood grain and update the color without the cost of new cabinetry. This is more labor-intensive than painting and works best on cabinets without laminate or veneer damage, since sanding through veneer can ruin a door.
5. Reface Instead of Replace
Cabinet refacing keeps your existing cabinet boxes — which are usually structurally sound — while replacing just the doors, drawer fronts, and any exposed side panels with new material, often veneer or laminate that matches. This typically costs roughly a third to half of full cabinet replacement while delivering a dramatically updated look, since you can also change the door style and color entirely.
6. Add Trim, Molding, or Furniture Feet
Builder-grade cabinets often look plain because they lack the decorative details found on custom cabinetry. Adding crown molding along the top, light rail molding underneath upper cabinets, or furniture-style feet at the base can give flat-front cabinets a more substantial, tailored appearance for the cost of some trim and wood glue.
7. Remove a Few Doors for Open Shelving
Removing the doors from one or two upper cabinets and finishing the interior (paint, wallpaper, or a wood stain) creates an open shelving accent that breaks up a wall of uniform cabinet doors. This works especially well paired with a fresh coat of interior paint in a contrasting color to the rest of the cabinetry, and it’s fully reversible if you change your mind later.
8. Update the Interior with Organizers
A refresh doesn’t have to be purely visual. Pull-out drawers, lazy Susans, under-sink organizers, and drawer dividers can make cabinets function like custom-built storage without touching the exterior at all — and better organization often makes a kitchen feel more finished, even before you change a single door.
9. Use Peel-and-Stick or Contact Paper Strategically
For renters or anyone wanting a temporary, low-commitment change, high-quality peel-and-stick wood-look or solid-color film can update cabinet exteriors without paint or permanent alteration. Quality varies a lot between products, so look for options designed specifically for furniture and cabinetry rather than general-purpose shelf liner, and always test an inconspicuous spot first to confirm it adheres well and removes cleanly.
Choosing the Right Approach for Your Kitchen
If your cabinet boxes are solid and you’re happy with the layout, painting or refacing will typically deliver the biggest visual change for the money. If you’re mostly bothered by a dated color or finish and the doors themselves are in good shape, hardware and paint alone can go a remarkably long way. And if storage and function are your main frustrations rather than looks, interior organizers might matter more than anything cosmetic.
Whichever combination you choose, the same principle applies across all of them: thorough cleaning and careful prep work is what separates a refresh that looks intentional and custom from one that looks like a quick patch job. Take the extra time there, and the rest of the project will show it.
It’s also worth pacing yourself. Hardware and a deep clean can happen in a single afternoon, while a full paint or refacing project is realistically a multi-day undertaking once you account for drying and curing time between coats. Starting with the smaller wins gives you an early sense of how the finished kitchen will feel before you commit to the more time-intensive steps.
For complex structural, electrical, gas, and other safety-critical work, consult a qualified professional and check local requirements.
Read Next
All articles →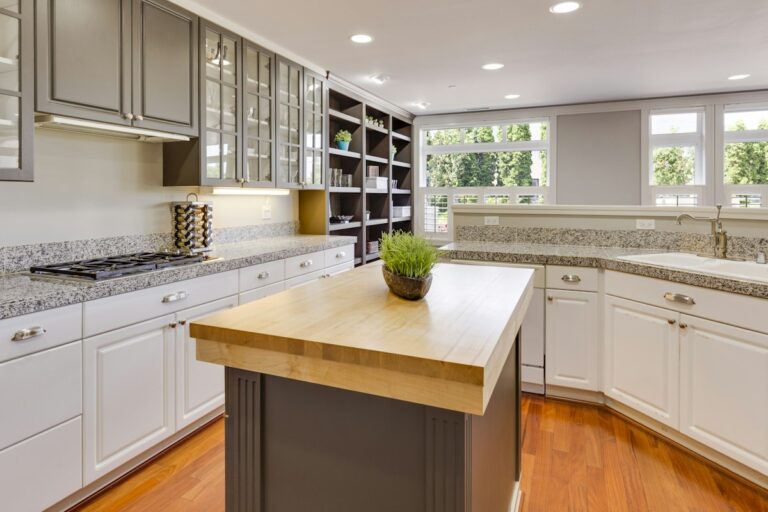
5 Smart Ways to Upgrade Your Kitchen Countertops Without a Full Remodel
A full kitchen remodel can easily run into the tens of thousands of dollars, and countertops alone — especially natural stone…
Read the guide →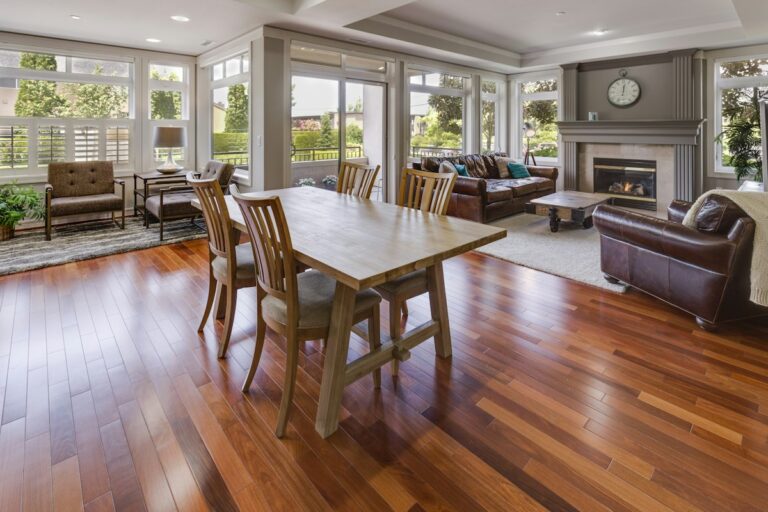
How to Choose the Right Flooring for Every Room in Your Home: A Practical Buyer’s Guide
Gmail article imported for editorial review; facts and product claims pending verification.
Read the guide →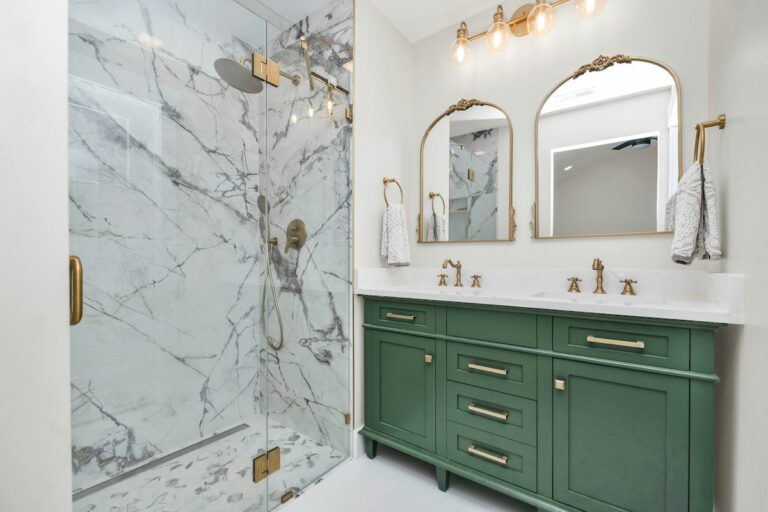
Weekend Bathroom Refresh: How to Update Grout, Caulk, and Hardware Without a Full Remodel
Imported from Gmail for editorial verification. Not yet approved for publication.
Read the guide →