
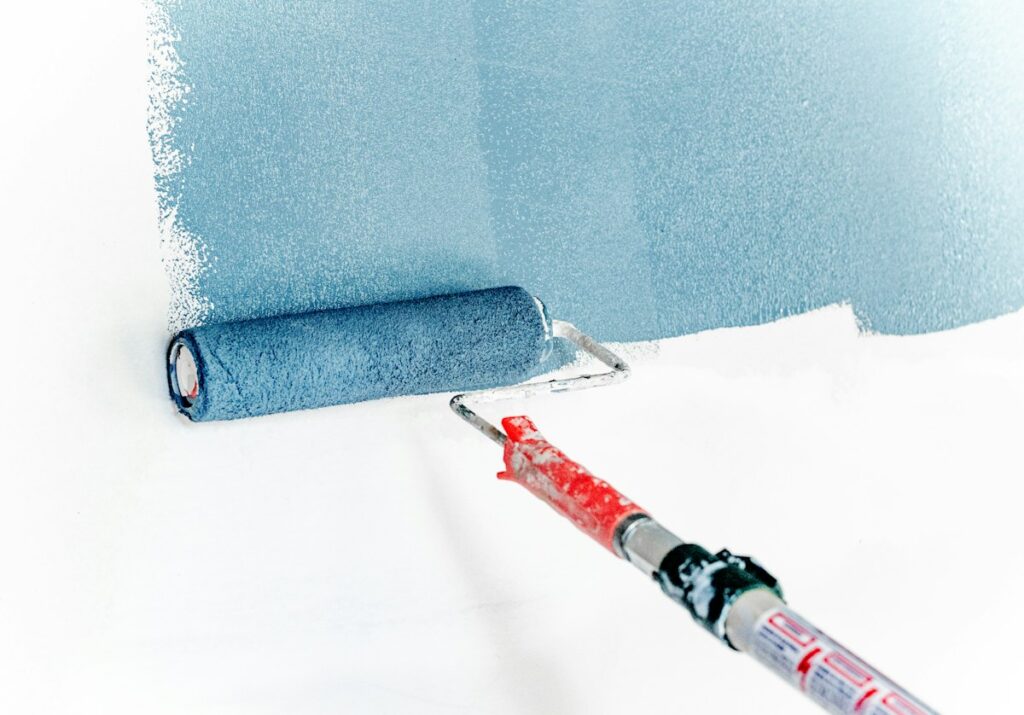
As the weather cools and outdoor projects wind down, interior painting becomes one of the highest-impact, most budget-friendly ways to refresh a home. A gallon of paint and a weekend can transform a tired room more dramatically than almost any other improvement per dollar spent. But the difference between a professional-looking finish and a disappointing one almost always comes down to preparation, not the paint itself. Here is a complete, step-by-step guide to painting a room like someone who does it for a living.
Plan Before You Open a Can
Start by deciding on sheen as well as color. Flat and matte finishes hide wall imperfections well and suit low-traffic rooms like bedrooms and formal living rooms, while eggshell and satin finishes stand up better to cleaning and light bumps, making them a good fit for hallways, kids’ rooms, and kitchens. Semi-gloss is typically reserved for trim, doors, and bathrooms, where moisture and scuffing are concerns. Calculate how much paint you need by measuring wall height times width for each wall, subtracting large windows and doors, and dividing by the coverage listed on the paint can (usually 350 to 400 square feet per gallon for one coat); buy a little extra for touch-ups rather than running short mid-project.
Prep the Room Properly
Move furniture to the center of the room or out entirely, and remove switch plates, outlet covers, and any wall art or hardware. Lay down a canvas or plastic drop cloth rather than relying on newspaper, which slips and doesn’t absorb drips well. Use painter’s tape along trim, ceiling lines, and anywhere two colors meet, pressing it down firmly so paint can’t bleed underneath; for the cleanest lines, run a thin bead of caulk or a flexible sealant along the tape edge before painting, then peel the tape away while the paint is still slightly wet for the sharpest result.
Repair and Clean the Walls
This is the step most DIYers rush, and it’s the one that makes the biggest visible difference. Fill nail holes, dents, and cracks with lightweight spackle, let it dry fully, and sand it smooth with fine-grit sandpaper until you can’t feel a ridge. Wipe down walls with a damp cloth or a mild degreasing cleaner, especially in kitchens, to remove dust, grease, and cooking residue that can prevent paint from adhering properly. If you’re painting over a glossy surface or a dramatic color change, a light sanding or a coat of stain-blocking primer will help the new color go on evenly and true to the swatch.
Choosing and Using the Right Tools
A quality angled sash brush (2 to 2.5 inches) makes cutting in around trim and corners far easier than a cheap one, and a good microfiber or woven roller cover, matched to your wall texture, lays down paint more evenly than the thin foam rollers often bundled in starter kits. Use a paint tray with a ribbed insert to evenly load the roller and avoid drips. Cut in the edges of each wall with a brush first, then roll the larger open areas while the cut-in edges are still wet, which blends brush and roller texture together instead of leaving a visible line.
Painting Technique That Actually Works
Work in manageable sections, roughly a three-by-three-foot area at a time, applying paint in a “W” or “M” pattern and then filling it in without lifting the roller, which distributes paint more evenly than straight up-and-down strokes. Always maintain a wet edge by overlapping into the previous section before it dries, since painting over a half-dried edge is a common cause of visible lap marks. Apply thin, even coats rather than one thick one; most colors, especially darker or more saturated shades, need two coats for full, even coverage and true color depth.
Drying Time and a Second Coat
Most latex wall paints are dry to the touch within one to two hours but should cure for at least four to six hours, or per the manufacturer’s label, before applying a second coat. Avoid rushing this step; painting over a surface that isn’t fully set can pull up the first coat or create an uneven sheen. Keep the room well ventilated throughout the project by opening windows or running a fan, both for comfort and to help the paint cure properly.
Safety and Ventilation Reminders
Choose low-VOC or zero-VOC paint when possible, particularly in bedrooms and rooms with limited airflow, and keep the area ventilated during application and drying. If you’re working on a ladder to reach high walls or ceilings, use a stable stepladder rated for your weight, keep three points of contact, and avoid overreaching to the side, which is a common cause of falls. Keep paint and solvents away from open flames or pilot lights, and store partially used cans tightly sealed and away from children and pets.
Step-by-Step Painting Checklist
– Choose the right sheen for the room and calculate paint quantity
– Clear and protect the room with drop cloths and painter’s tape
– Fill holes and cracks with spackle, sand smooth, and clean the walls
– Prime if changing colors dramatically or covering a glossy surface
– Cut in edges with a quality angled brush, then roll while edges are wet
– Paint in a W or M pattern, keeping a wet edge to avoid lap marks
– Apply two thin coats rather than one thick coat, allowing full dry time between
– Ventilate the room and use stable ladders and safe footing throughout
Final Thoughts
Good painting is less about talent and more about patience during prep and technique during application. Slow down on the parts that feel tedious — filling holes, taping clean lines, letting coats dry fully — and the actual painting will go faster and look noticeably more polished. For a weekend’s worth of work, there’s rarely a better return on investment in a home.
For complex structural, electrical, gas, and other safety-critical work, consult a qualified professional and check local requirements.
Read Next
All articles →
How to Build a Floating Corner Shelf With a Hidden Steel Bracket
Learn how to build a floating corner shelf using a hidden steel bracket system for a clean, support-free look that holds…
Read the guide →
OSB vs. Plywood for Subflooring: Which One Should You Actually Use
OSB and plywood both work as subflooring, but they perform differently when wet, under load, and over time. Here's how to…
Read the guide →
How to Build a Window Seat With Hidden Storage in a Weekend
Gmail article imported for review. Installation, safety, pricing and product claims are not yet verified.
Read the guide →