
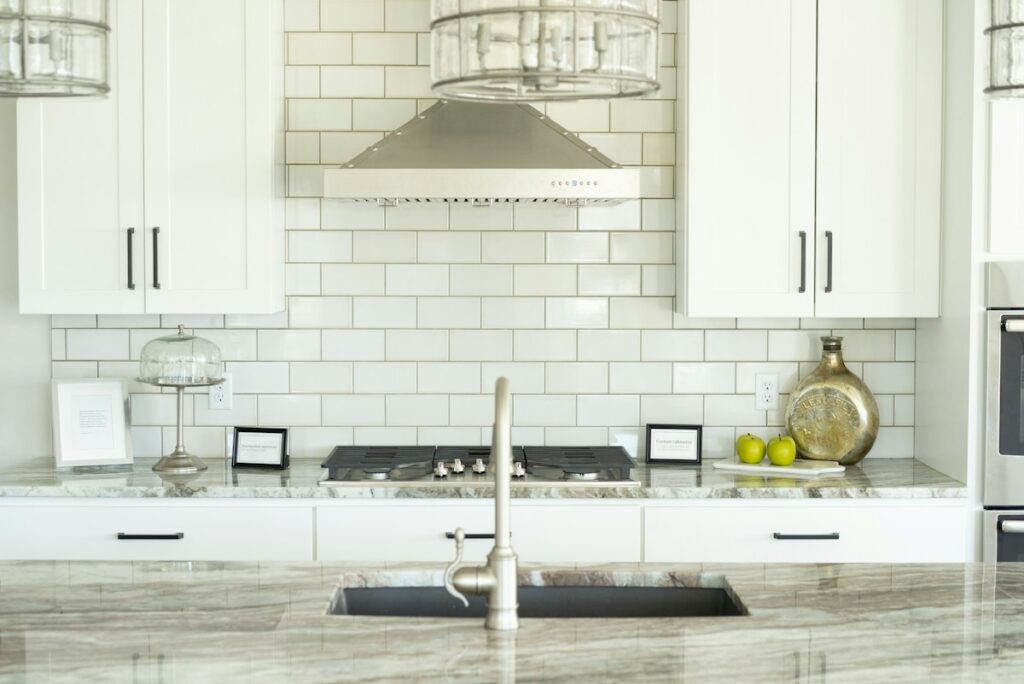
Yes, you can install a peel-and-stick backsplash directly over existing tile, as long as the old tile is flat, clean, and free of loose grout or crumbling caulk — the adhesive backing bonds to a smooth, degreased surface, not to dust or old cooking grease, so a thorough wipe-down with rubbing alcohol or a degreaser is the step that makes or breaks the whole project. This is one of the fastest ways to refresh a dated kitchen without the mess of demolition, and most homeowners can finish an entire backsplash wall in an afternoon.
Why Peel-and-Stick Works Over Tile (When Done Right)
Peel-and-stick backsplash panels are built with a pressure-sensitive adhesive layer designed to grip non-porous surfaces like glazed ceramic tile, laminate, and painted drywall. The key word is “glazed” — if your existing tile has a matte, unglazed, or heavily textured finish, the adhesive has less surface area to bond to, and panels are more likely to lift at the edges over time. Run your hand across the tile: if it feels smooth and slightly glossy, you’re in good shape. If it feels chalky, sandy, or rough, you’ll get better results by lightly sanding the glaze with 220-grit sandpaper first to give the adhesive some texture to grab.
The other variable that matters more than people expect is grout line depth. Deep, recessed grout lines create air gaps behind the panel that weaken the bond right at the seams, which is usually where backsplashes fail first. For grout lines deeper than about 1/16 inch, a thin layer of lightweight spackle feathered over the grout lines (then lightly sanded flush once dry) will give you a much flatter base.
Tools and Materials You’ll Need
– Peel-and-stick backsplash tiles or sheets (measure your wall and buy 10% extra for cuts and mistakes)
– Rubbing alcohol or TSP substitute degreaser, plus lint-free rags
– 220-grit sandpaper (for glossy or deep-grout tile)
– A level and a long straightedge or metal ruler
– A sharp utility knife with extra blades
– Painter’s tape
– A J-roller or hard plastic smoothing tool
– Clear silicone caulk for edges and outlets
Step 1: Clean and Degrease Thoroughly
Wipe down the entire wall with a degreaser, rinse with a damp (not wet) rag, and let it dry completely — usually a couple of hours. Any residual cooking oil near the stove is the number one cause of peel-and-stick failure, so spend extra time right behind the range.
Step 2: Establish a Level Starting Line
Existing tile and counters are rarely perfectly level, so don’t trust the countertop as your guide. Use a level to draw a faint pencil line near the center of the wall, and start your first row there, working outward in both directions. This keeps the whole pattern visually straight even if your counter has a slight dip.
Step 3: Dry-Fit Before You Peel
Lay out a full row of panels (without removing the backing) to check your spacing and figure out where cuts will fall. It’s much easier to adjust your starting point now than to discover a half-inch sliver of tile at the end of the row.
Step 4: Cut Around Outlets and Edges
Turn off power to any outlets on the wall at the breaker before removing cover plates. Measure twice, score your cut line with a utility knife and straightedge, and cut on a firm backing surface so you don’t gouge the wall behind the old tile. Reinstall outlet covers over the finished panel edges, not under them, for a clean look.
Step 5: Apply, Press, and Roll
Peel back a few inches of backing at a time rather than all at once — this gives you control if a panel needs repositioning. Press firmly from the center outward to push out air bubbles, then go over every seam and edge with a J-roller to lock in the bond, paying special attention to the edges where lifting typically starts.
Step 6: Seal the Perimeter
Run a thin bead of clear silicone caulk along the top edge, the countertop seam, and any outside corners. This isn’t just cosmetic — it keeps water and grease from working under the panel edges, which is what causes long-term peeling.
How Long Will It Actually Last?
With proper surface prep, a quality peel-and-stick backsplash over tile can realistically last 3 to 7 years before edges start to need attention, longer in low-moisture areas away from the stove and sink. It’s not a permanent, forever-home solution the way thinset tile is, but for rentals, flips, or homeowners who like to refresh their kitchen’s look every few years, that’s a feature, not a flaw — it comes off clean with a hairdryer and a plastic scraper when you’re ready for something new.
Common Mistakes to Avoid
The three mistakes that show up most often: skipping the degreasing step, applying panels over tile with deep, unfilled grout lines, and starting the first row from an un-level counter instead of a drawn level line. Avoid those three and most of the “my backsplash is already peeling” complaints simply don’t happen.
Frequently Asked Questions
Can I put a peel-and-stick backsplash directly over grout lines?
You can, but grout lines deeper than 1/16 inch should be filled and sanded flush first. Shallow, flush grout lines are usually fine to apply over directly after cleaning.
Will a peel-and-stick backsplash hold up behind a gas stove?
Most products handle incidental heat and splatter fine, but check the manufacturer’s heat rating and keep panels at least a few inches from any surface that gets hot to the touch, since prolonged direct heat can soften the adhesive.
Do I need to remove the old tile first?
No — that’s the main appeal of this method. As long as the old tile is sound, flat, and properly cleaned and prepped, you can apply directly over it and skip the demolition entirely.
How do I remove a peel-and-stick backsplash later without damaging the wall?
Warm the edge with a hairdryer on low heat to soften the adhesive, then gently work a plastic scraper underneath and peel slowly. Any adhesive residue left behind usually comes off with a bit of rubbing alcohol.
What’s the best peel-and-stick material for a kitchen backsplash?
Gel-based or PVC composite tiles with a textured, embossed surface tend to hide seams better and resist heat and moisture better than thin vinyl film versions, making them the better choice directly behind cooking and sink areas.
For complex structural, electrical, gas, and other safety-critical work, consult a qualified professional and check local requirements.
Read Next
All articles →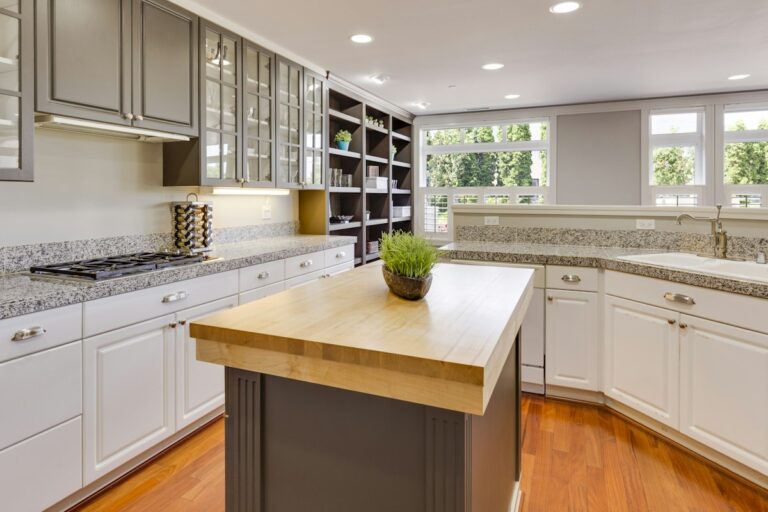
5 Smart Ways to Upgrade Your Kitchen Countertops Without a Full Remodel
A full kitchen remodel can easily run into the tens of thousands of dollars, and countertops alone — especially natural stone…
Read the guide →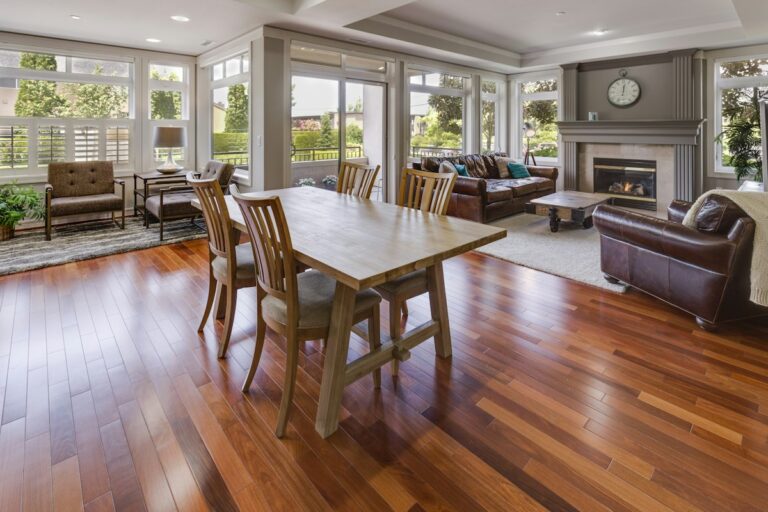
How to Choose the Right Flooring for Every Room in Your Home: A Practical Buyer’s Guide
Gmail article imported for editorial review; facts and product claims pending verification.
Read the guide →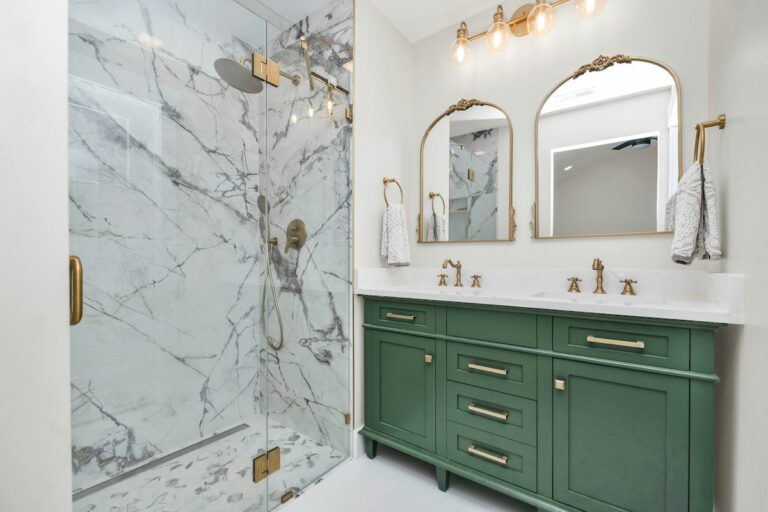
Weekend Bathroom Refresh: How to Update Grout, Caulk, and Hardware Without a Full Remodel
Imported from Gmail for editorial verification. Not yet approved for publication.
Read the guide →