
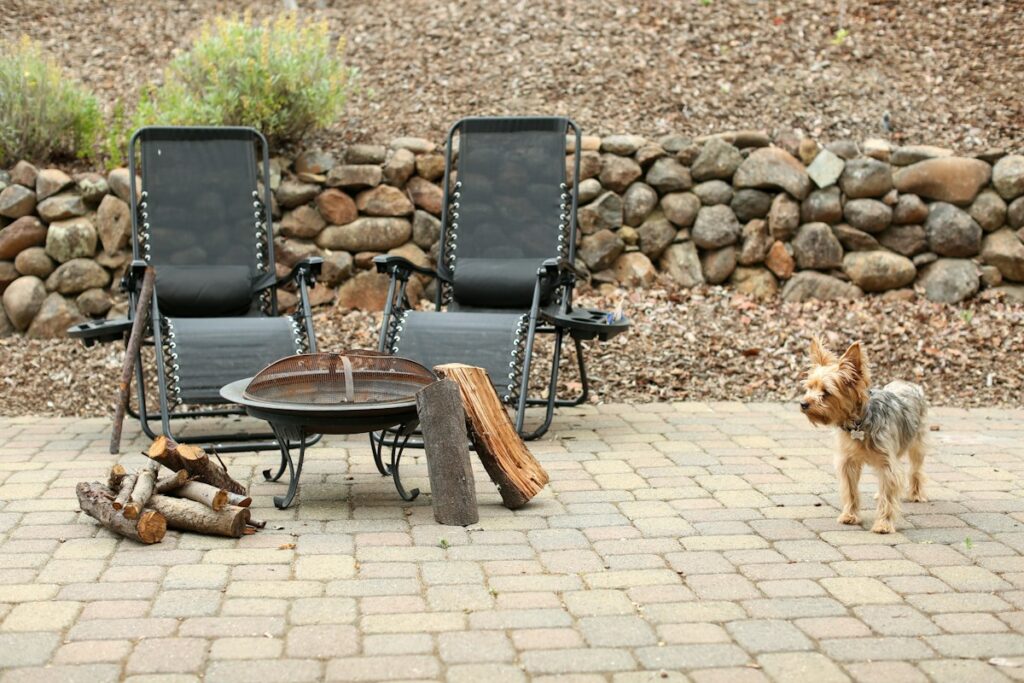
The step homeowners most often skip on a dry-laid paver patio is properly compacting the gravel base in thin layers before laying the pavers — not just dumping gravel in and laying pavers on top. A base that isn’t compacted in lifts of 2 to 4 inches, with each layer mechanically tamped before the next is added, will continue settling under the weight of the pavers for months after installation, which is exactly why so many DIY patios develop sinking spots, tripping hazards, and gaps between pavers within the first year or two.
A paver patio looks deceptively simple: dig a hole, add gravel, add sand, place pavers. In practice, the base preparation is around 80% of the actual work and is the single biggest factor in whether a patio stays flat and stable for 20-plus years or starts looking rough within a single winter. Skimping on base prep is the most common reason DIY paver projects fail, far more often than choosing the wrong paver or pattern.
Why Compaction Matters More Than Gravel Depth
It’s tempting to assume that simply using more gravel solves stability problems, but uncompacted gravel — no matter how deep — behaves like loose fill. It shifts and settles under weight and moisture over time. A properly compacted base, by contrast, locks the aggregate particles together into a dense, interlocked layer that resists movement. This is why professional installers compact in thin lifts rather than filling the entire excavation and compacting once: a plate compactor can only effectively densify the top few inches of loose material in a single pass, so a deep layer of uncompacted gravel will have a weak, loose zone underneath even after the surface looks compacted.
Step-by-Step: Doing Base Prep Correctly
1. Excavate to the Right Depth
Dig out the patio area to a depth that accounts for your paver thickness, a 1-inch bedding layer of coarse sand, and 4 to 6 inches of compacted base gravel for a patio (more, often 8-plus inches, if the area will see vehicle traffic). Skipping adequate excavation depth is its own common mistake, since it leaves no room for proper base material.
2. Install Landscape Fabric
Laying geotextile fabric over the excavated subgrade before adding gravel prevents the base material from mixing with the native soil underneath and keeps weeds from growing up through the joints later. This is an inexpensive step that’s easy to skip but meaningfully extends the life of the patio.
3. Add and Compact Gravel in Lifts
Add gravel in layers of no more than 2 to 4 inches at a time, compacting each layer thoroughly with a plate compactor before adding the next. Check for a slight slope away from the house (typically 1 inch of drop per 4 feet) as you go, using a long level or string line, so finished water drains away from the foundation rather than pooling on the patio or against the house.
4. Add the Bedding Sand Layer
Once the compacted gravel base is in place and properly sloped, add about 1 inch of coarse concrete sand (not play sand, which is too fine and doesn’t drain well) and screed it flat using screed rails and a straight board. This thin sand layer is what allows pavers to be set at a precise, even height — it is not a substitute for a compacted gravel base underneath.
5. Lay Pavers and Compact Again
After placing the pavers in your chosen pattern, run the plate compactor over the entire surface (with a protective pad to avoid chipping the pavers) to seat them into the sand bed. Sweep polymeric or regular jointing sand into the gaps, then compact once more to lock everything together.
Signs You’re Looking at a Base Prep Problem
If an existing patio has isolated low spots that collect water, pavers that rock or shift individually when stepped on, or widening gaps between pavers near the edges, these are all classic symptoms of an inadequately compacted base rather than a problem with the pavers themselves. Unfortunately, fixing this usually means pulling up the affected pavers, re-compacting or replacing the base material underneath, and relaying — there’s no effective way to fix a settling base from the surface.
Renting the Right Equipment
A plate compactor (sometimes called a “jumping jack” for trench work versus a flat plate compactor for open areas) is available at most tool rental stores for $60 to $100 per day. For a patio project, this rental cost is one of the best investments you can make, since hand-tamping gravel is both exhausting and far less effective at achieving true compaction than a powered compactor.
Frequently Asked Questions
How deep should the gravel base be for a paver patio?
For pedestrian use, 4 to 6 inches of compacted gravel base is standard; driveways or any area with vehicle traffic need 8 inches or more, often with a different gravel gradation designed for load-bearing.
What type of gravel is best for a paver base?
Crushed, angular gravel with a mix of particle sizes (commonly sold as road base, crusher run, or dense grade aggregate) compacts and interlocks far better than smooth, rounded gravel like pea gravel, which doesn’t lock together the same way.
Can I skip the plate compactor and just hand-tamp?
Hand-tamping can work for very small areas but generally doesn’t achieve the same density as a powered plate compactor, which is why most sinking and settling problems trace back to hand-tamped or skipped compaction.
How long does a properly built paver patio last?
With correct base prep, a paver patio can last 25 years or more with only occasional joint sand top-ups, compared to a few years before visible problems on a patio with inadequate base compaction.
Do I need landscape fabric under a paver patio?
It’s not strictly required everywhere, but it’s strongly recommended, since it prevents the base gravel from migrating into the soil below and significantly reduces weed growth between pavers over time.
For complex structural, electrical, gas, and other safety-critical work, consult a qualified professional and check local requirements.
Read Next
All articles →
Fall Lawn Care 101: The Complete Guide to a Healthier Yard Next Spring
Fall Lawn Care 101: The Complete Guide to a Healthier Yard Next Spring Most people think of spring as lawn-care season,…
Read the guide →