
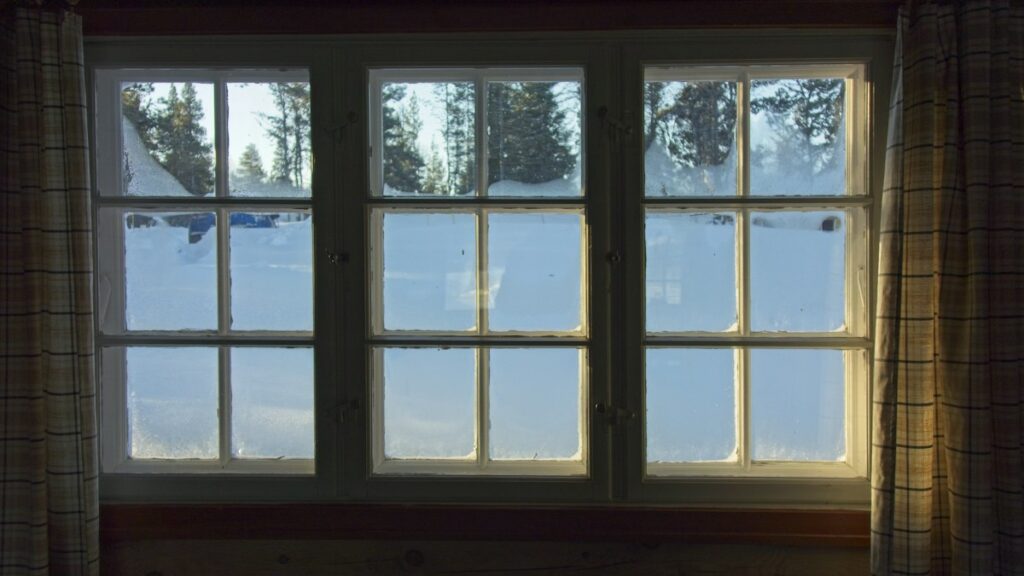
If your heating bill climbs every winter and certain rooms never quite feel warm, drafts are a likely culprit. Air leaking around windows and doors can account for a significant share of a home’s heat loss, and the fix is usually inexpensive and well within reach of a weekend DIYer. Before the cold weather arrives, walk through your home with this guide and seal up the gaps that are letting warm air escape and cold air in.
Step 1: Find the Drafts
Start by locating the problem areas. On a breezy day, hold a lit candle or a thin strip of tissue paper near the edges of windows and doors; if the flame flickers or the tissue moves, you’ve found a leak. You can also simply run your hand slowly along frames, sills, and thresholds to feel for moving air. Common trouble spots include window sashes, the gap between window and door frames and the surrounding wall, electrical outlets on exterior walls, and the bottom of exterior doors.
Step 2: Caulk Stationary Gaps
Caulk is meant for gaps that don’t move — the joint between a window frame and the wall, cracks in trim, or gaps around pipes and cables entering the house. Choose an exterior-grade, paintable acrylic-latex or silicone caulk rated for the temperature range in your area.
– Remove old, cracked caulk with a scraper or a caulk-removal tool before applying new caulk — layering new caulk over failing old caulk rarely lasts.
– Cut the caulk tube’s tip at a 45-degree angle, sized to match the width of the gap.
– Apply steady, even pressure and pull the gun toward you in one continuous motion, then smooth the bead with a damp finger or a caulk-smoothing tool.
– Let it cure fully according to the label before painting over it.
Skip caulk on parts that are meant to move, like the seam between a window sash and its frame — that’s a job for weatherstripping instead.
Step 3: Weatherstrip Doors and Operable Windows
Weatherstripping seals moving parts without gluing them shut. A few common types:
– Adhesive-backed foam tape is the easiest option for window sashes and the sides and top of door frames. It’s inexpensive but typically needs replacing every year or two.
– V-strip (tension seal) is a durable, nearly invisible option for door and window jambs, tucking into the gap and springing outward to seal it.
– Door sweeps attach to the bottom of an exterior door to block drafts and pests. Measure your door’s width, trim the sweep to fit, and adjust it so it seals against the threshold without dragging when the door opens.
– Draft snakes or door draft stoppers are a no-tools, renter-friendly option for the bottom of interior or exterior doors.
Step 4: Check Your Window Glazing
On older wood windows, the putty-like glazing compound that holds the glass in place can dry out, crack, and fall away over the years, creating direct air leaks. If you spot missing or crumbling glazing, it can be replaced with fresh glazing compound, a putty knife, and some patience. If you live in a home built before 1978, be aware that old paint may contain lead; avoid sanding or scraping painted surfaces aggressively, and if you suspect lead paint, follow EPA lead-safe work practices or hire a certified professional.
Step 5: Add a Layer with Storm Windows or Window Film
If your windows are older and full replacement isn’t in the budget this year, interior storm window kits using clear shrink film can add a meaningful insulating layer for the cost of a roll of film and some double-sided tape. Exterior storm windows are a more durable, semi-permanent option if you want to invest a bit more.
Step 6: Don’t Forget These Overlooked Spots
– Electrical outlets and switch plates on exterior walls: inexpensive foam gaskets install in seconds behind the cover plate.
– The attic hatch or pull-down stairs: these are often poorly sealed and a major source of heat loss; weatherstripping and an insulated cover can help significantly.
– Mail slots and pet doors: add or replace built-in flaps and brush seals.
– Dryer vents and exterior vent hoods: confirm the flapper closes fully when the dryer isn’t running.
A Quick Safety Note on Electrical Outlets
Installing foam gaskets behind outlet covers is a simple, low-risk task, but always turn off the breaker for that circuit before removing an outlet or switch cover plate, and confirm the power is off with a non-contact voltage tester before touching anything inside the box. If you ever see scorch marks, melted plastic, or a burning smell around an outlet, stop and call a licensed electrician rather than continuing the project yourself.
How Much Difference Does This Actually Make?
Air sealing won’t transform a drafty older home into a brand-new energy-efficient one overnight, but it’s consistently one of the best returns on investment in home improvement: the materials are cheap, the work is approachable for most homeowners, and the payoff shows up as a more comfortable house and a lower heating bill all winter long. Pair it with a fresh furnace filter and a working programmable or smart thermostat, and you’ll notice the difference the first time the temperature really drops.
When to Call a Professional
DIY air sealing handles most everyday drafts, but if you’re dealing with widespread leaks, visible mold, ice dams from last winter, or you suspect insulation problems in your walls or attic, a home energy audit from a qualified professional can pinpoint exactly where you’re losing the most heat and whether larger repairs are worth the investment. Many utility companies offer these audits at a reduced cost or even for free, so it’s worth checking before you assume a bigger project is needed.
For complex structural, electrical, gas, and other safety-critical work, consult a qualified professional and check local requirements.
Read Next
All articles →Fall Home Maintenance Checklist: 12 Tasks to Finish Before the First Freeze
Once the overnight temperatures start dipping toward freezing, the window for easy, comfortable outdoor maintenance starts to close fast. A weekend…
Read the guide →
Smart Thermostats Explained: How to Choose, Install, and Save Money This Winter
Gmail article imported for editorial review; facts and product claims pending verification.
Read the guide →